View Complete Product Guide
Step 1
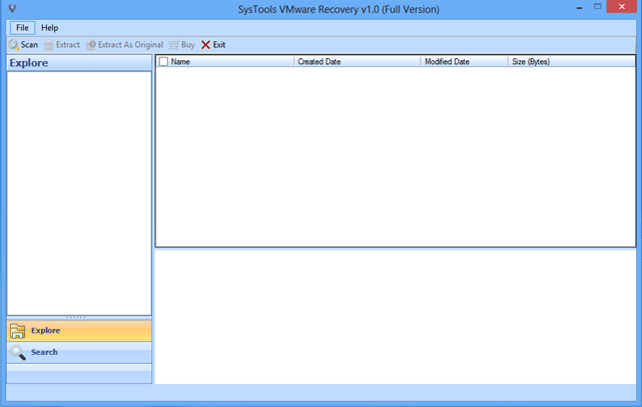
Download the software and Run on your machine. Go to the Start » All Programs » Vmware Recovery and home windows will appear as shown below.
Step 2
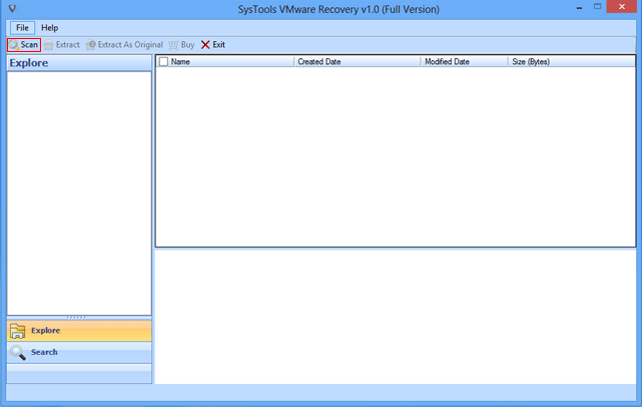
Click on the Scan and load the .vmdk file.
Step 3
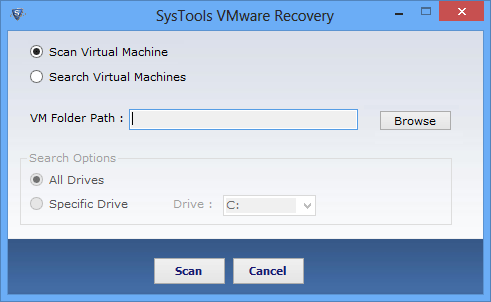
Choose one option to start scanning process.
- Scan Virtual Machine.
- Search Virtual Machine.
Step 4
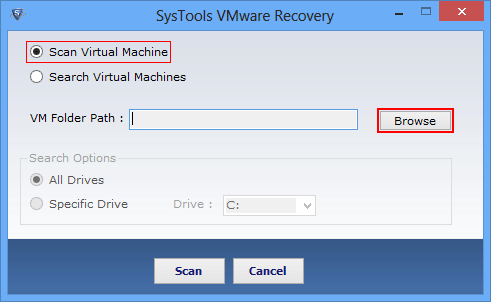
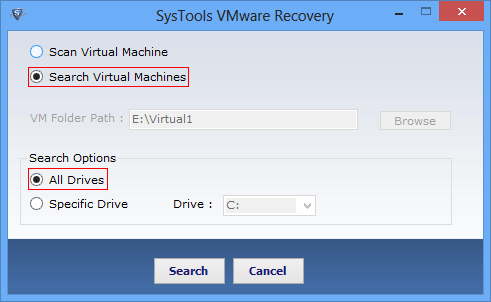
If you know the location of .vmdk file then select Scan Virtual Machine and click on Brows button.
Step 5
you do not know the location of vmdk file then select Search Virtual Machine option and also select All Drive option. Now select on the Scan button.
Step 6
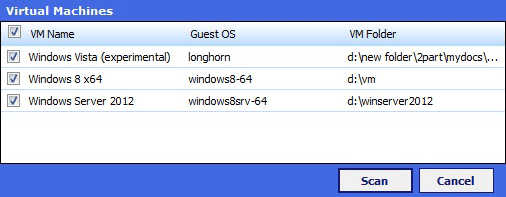
Now the vmware recovery software show complete detail as shown below.
Step 7
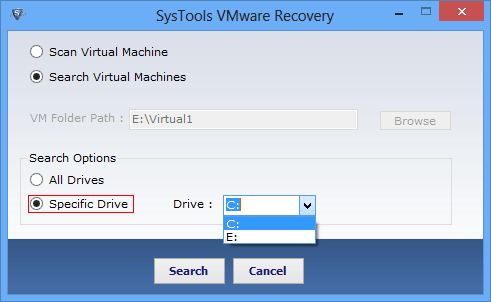
If know the specific drive, which contains damaged .vmdk file. Then select Specific Drive option , and select drive C, E or F.
Step 8
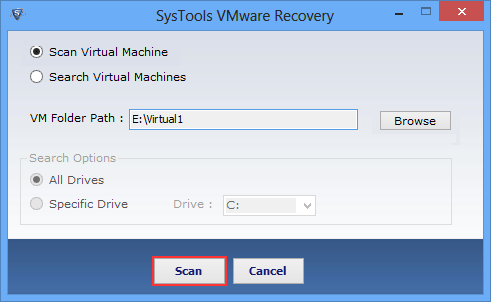
Click on the Scan button from bottom of software windows.
Step 9
Now the software will show you successful scanning message.

Step 10
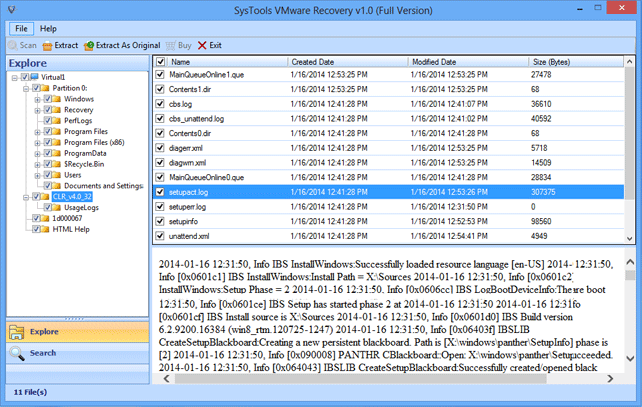
You can view entire data in preview pane.
Step 11
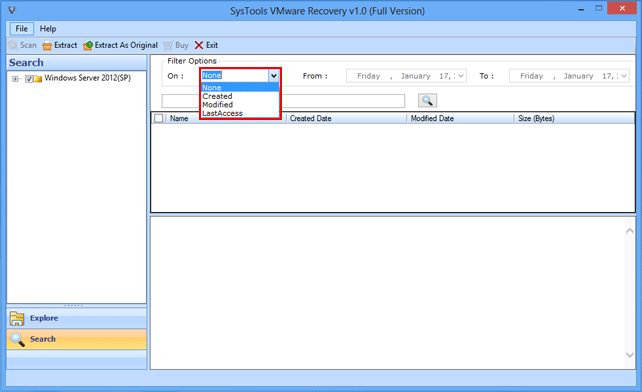
You can also apply search filter for specific vmware file search by providing file extension, creation date, modification date.
Step 12
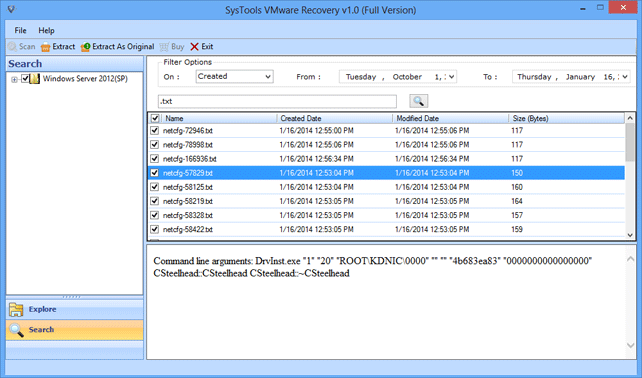
Now the software will show only specific files.
Step 13
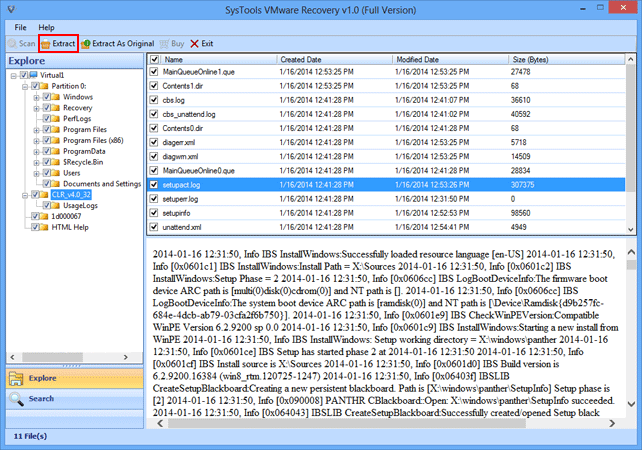
Software enable users to Extract the recovered files in two ways.
- Extract: - Select the desired location and click on the Ok.
- Extract As: - Use this option to save the recovered files on same location.
Step 14
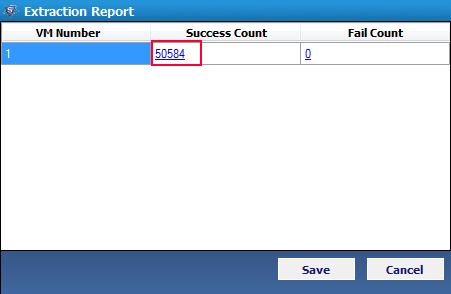
Now the software will you complete extraction process detail.
Step 15
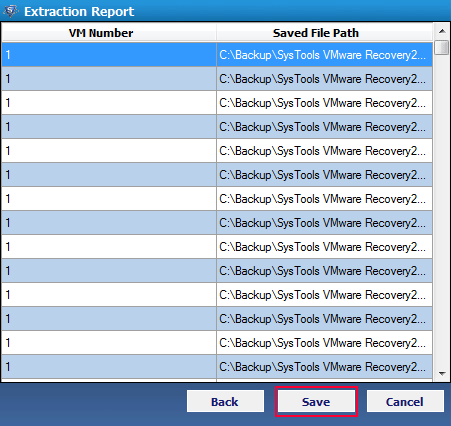
You can save the extraction report in CSV format by clicking on the Save button.
Step 16
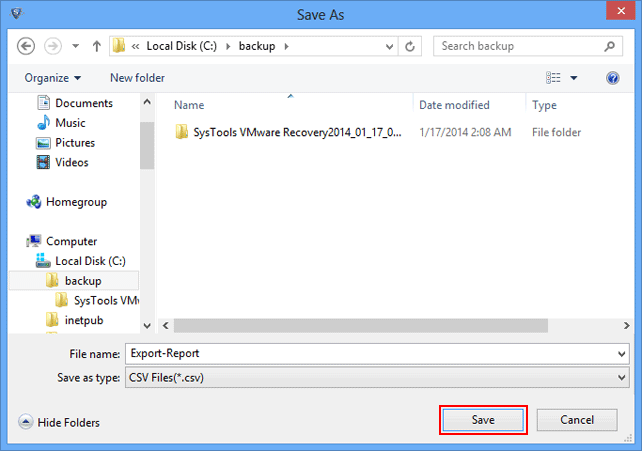
Choose the desired name to save the recovered vmware data.
Step 17
A successful message will appear as shown below.
